
NOTE: The screens depicted in these Help files reflect Quick Ship Version 5.3.0.XXXX. Earlier Versions may not have the same screens but field functionality remains the same.
Hyperlinks to:
Add/Edit Document Workstations
From the initial entry screen, select 'Setup'.
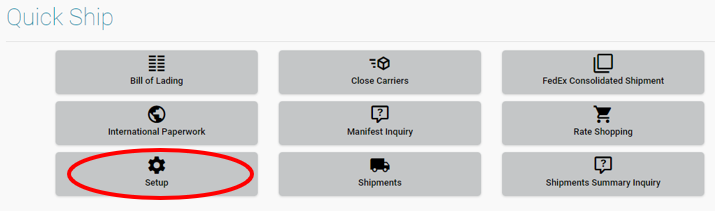
Select 'Document Manager' icon.

The Document Manager screen, located in the Setup menu, is the report hub for the bill of lading, international paperwork and non-carrier specific Quick Ship reports. This screen is the foundation for company documents. It is used to define the various documents in the system as defaults, set where they are located, and define their default printer behavior.
The hierarchy of four screens involved with setting up reports and printing:
Document Manager
Carrier | Documents
Workstations | Documents
Customers | Documents.
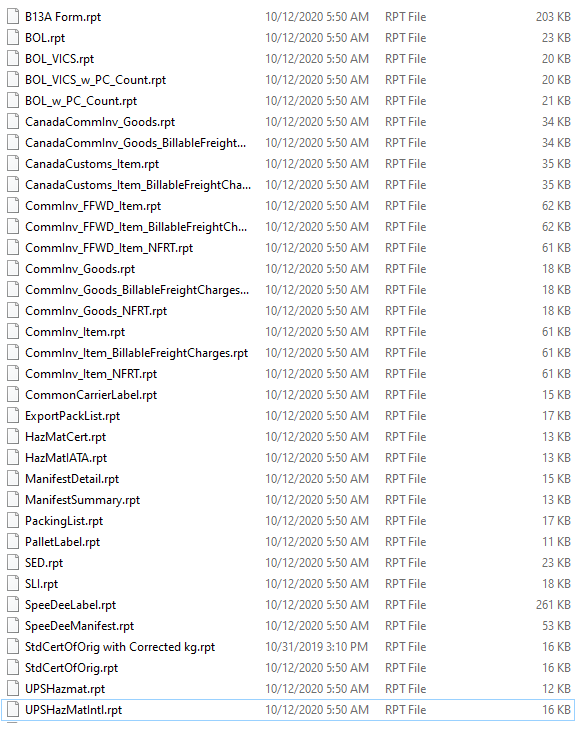
During the installation of Print Monitor, Crystal Reports run time was also installed with report templates for International Paperwork, Generic Carrier Label, Bill of Lading, Quick Ship Reports and HazMat paperwork. These report templates are typically located in folder C:\Reports on the server where the Print Monitor is installed.
The folder where the Print Monitor looks for print jobs was also created and is typically located at C:\PrintFiles. This is where you can see the files that were created for printing and use the log file to trouble shoot printing issues. If the .mon file changes to bad; there is an issue with the print job. If it was sent to the printer successfully then the .mon file will be deleted or moved to the Archive folder depending on the user's print monitor's config file settings.
If the Print Monitor is installed where the Web Server is installed, the Windows Intergration Service is not needed to move the print jobs. To determine where the Web Server is installed, you can use query SELECT @@SERVERNAME AS 'servername' in SQL or in the Query Manager.
Examples of Forms can be found in Help under Procedures | Forms Examples.
The initial screen will display list of current forms.
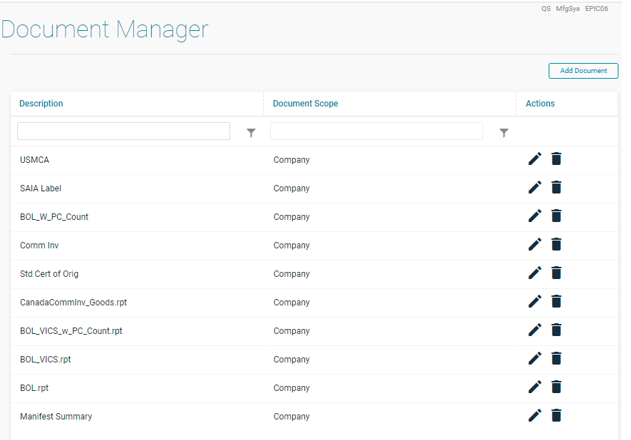
To add a document, single click on the Add Document Icon in the upper right corner.

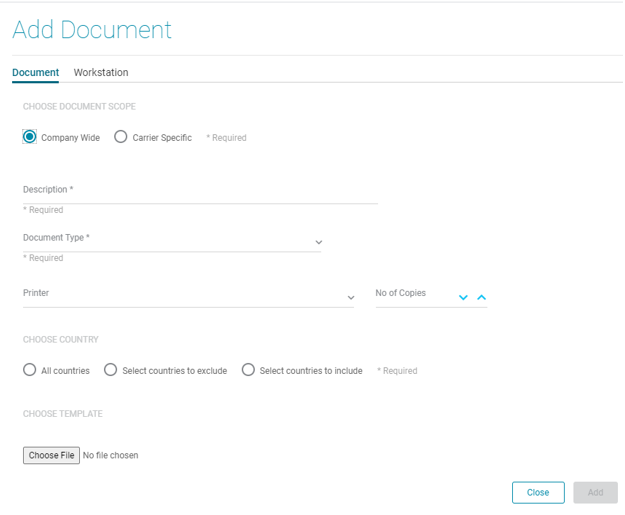
Choose Document Scope:
This field identifies if the form will be used by all facilities (company) for specific carriers.
NOTE Regarding WorkstationsTab:
A carrier label is a shipping label. A carrier form is a form that could be sent back by a carrier i.e. a Hazmat form from FedEx. The two types allow the user to choose a laser printer for the form and label printer for the label.
Company Wide:
If you enable company wide then the report is generated for all the facilities and workstations irrespective of the carriers that are selected.
Carrier Specific:
If you enable Carrier Specific, the report will be printed only if you ship through a particular carrier. i.e. FedEx, UPS etc
Description:
A unique document description created by the user.
Document Type:
This drop down is used to define the document type.
Hazmat Manifest
UPS Hazmat STD
Shippers letter of Instruction
Certificate of Origin
Misc Export Docs
BOL
Pack List
Manifest Labels
Pick Ticket
UPS Hazmat Ground
Container Label
Manifest Reports
Pallet Label
UPS Returns Exchange Receipt
Hazmat IATA
UPS WorldEase Label
Power of Attorney
Commercial Invoice
UPS WorldEase Label
Printer:
Defines the default printer or other context based on the output type such as a directory location to place a file. Clicking the Printer button will display the available printers. Label printer name should not contain any spaces and if the printer shared name is different be sure to input the shared name in this field.
Number of Copies:
This field is used to indicate the number of copies of this document to print. This will be overridden by any Carriers | Documents, Workstation | Documents or Customer | Documents settings with the same Document Type if indicated.
Choose Country:
The country list can be used to automate which document will be printed or available from printing based on the recipient Country. Please note that not selecting any countries will exhibit the same behavior as if all countries are selected.
All Countries
Select Countries to exclude
Select countries to include
Choose Template:
Choose File Icon:
This browse button will let the user search for the Crystal Reports files that were imported during installation of the Print Monitor. Once a report is selected it will be used to generate the document based off of the specific shipment data. This is a required field on this screen but does not require a path.
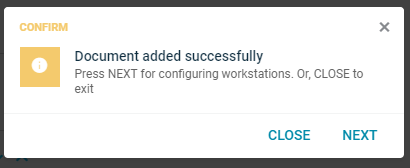
After selecting the Add icon the following screen will appear:
To edit a document, single click on the Pencil Icon of the document.

NOTE: You must first create the document to assign a workstation.
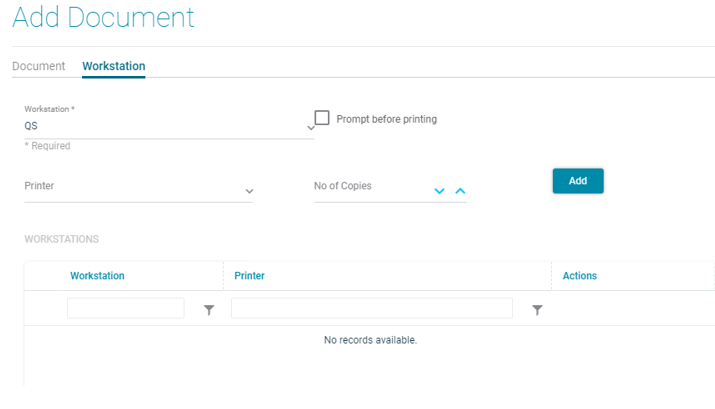
Workstation Tab:
Prompt before printing:
Printer:
Defines the default printer or other context based on the output type such as a directory location to place a file. Clicking the Printer button will display the available printers. Label printer name should not contain any spaces and if the printer shared name is different be sure to input the shared name in this field.
No of Copies:
This field is used to indicate the number of copies of this document to print. This will be overridden by any Carriers | Documents, Workstation | Documents or Customer | Documents settings with the same Document Type if indicated.
Workstations:
Workstation:
Is equal to
Is not equal to
Contains
Does not Contain
Starts With
Ends with
Is null
Is not null
Is empty
Is not empty
Printer
Is equal to
Is not equal to
Contains
Does not Contain
Starts With
Ends with
Is null
Is not null
Is empty
Is not empty
Actions: